Agents upload a photo, click generate, and then wonder why the AI result looks slightly off. Nine times out of ten, the problem isn't the AI — it's the source photo. Virtual staging software is only as good as what you give it. A dark, distorted, or cluttered photo forces the AI to guess too much, and guesses show.
The good news: fixing your photography technique is free, and it makes a dramatic difference in your staged output. These tips apply whether you're shooting with a DSLR, a mirrorless camera, or even a recent iPhone. The principles are the same.
Shoot at the Right Time of Day
Natural light is the single biggest factor in how realistic your staged results look. Mid-morning to early afternoon — typically 9 a.m. to 1 p.m. — gives you soft, directional light that fills rooms without harsh shadows. Avoid shooting at noon when overhead light creates flat interiors, and avoid late afternoon when light becomes too warm and one-sided.
If a room faces north and rarely gets direct sun, turn on every light in the space to compensate. Mixed lighting (daylight + warm bulbs) can create color casts, so remove bulbs with mismatched color temperatures before you shoot, or switch all lights to 5000K daylight bulbs temporarily.
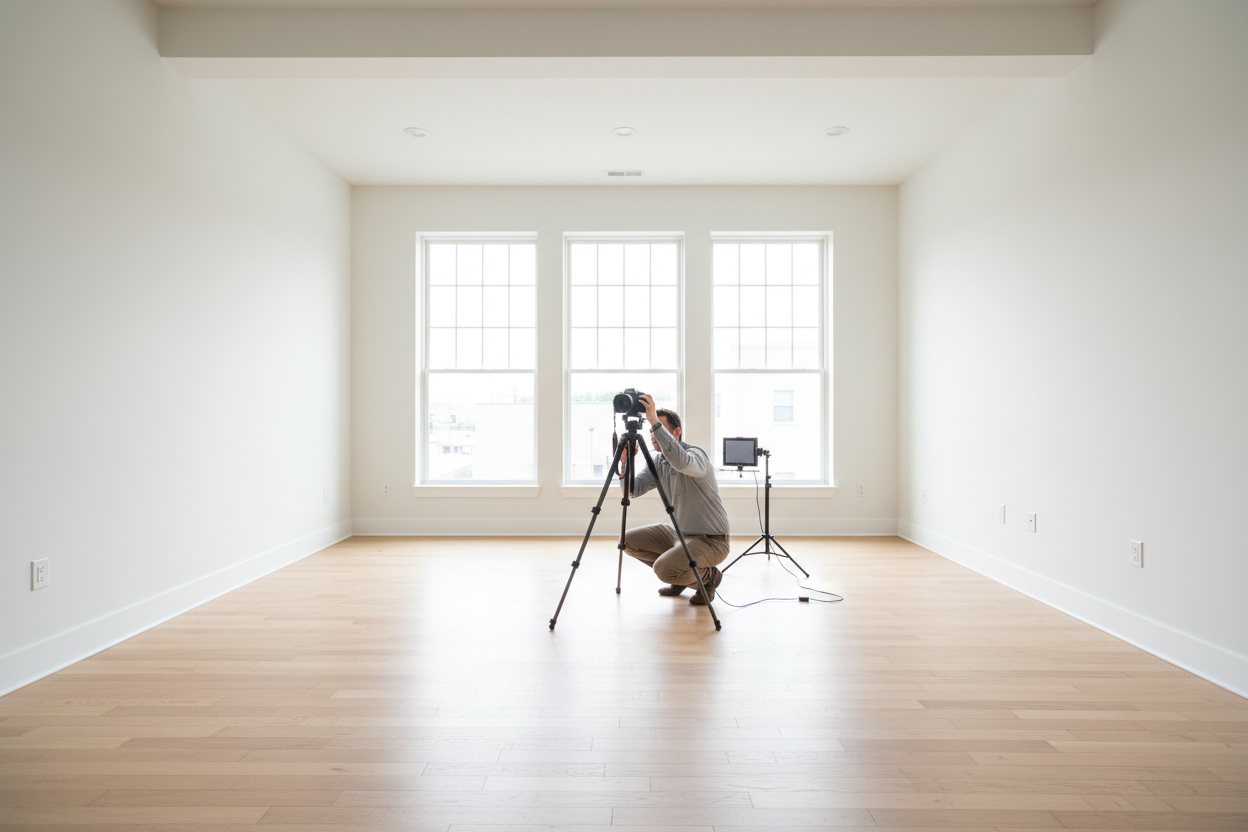
Use a Wide-Angle Lens at the Right Height
The ideal lens for real estate photography is a 16–24mm equivalent focal length. This range captures the full room without excessive distortion at the edges — the kind of barrel distortion that makes walls bow and floors curve. When Stagerify's AI places furniture into your photo, it uses the perspective cues already in the image. A heavily distorted wide-angle makes it much harder to generate furniture that sits naturally in the space.
Camera height matters just as much as focal length. Set your tripod so the lens sits 48–54 inches off the ground — roughly countertop height. This is the "human eye" perspective buyers expect. Too low and the room looks cramped; too high and it looks like a surveillance photo.
Clear the Room Before You Shoot
If you're planning to use Stagerify's furniture removal feature, you might assume it doesn't matter what's in the room. It does. The AI handles sparse or minimal furniture significantly better than rooms packed with personal items, cords, area rugs, and décor. Clear countertops, remove floor clutter, tuck away cables, and take down personal photos before you shoot. The cleaner the base photo, the cleaner the removal — and the more realistic the staged result on top.
This is especially important for kitchens and bathrooms, where countertop items create complex shadows and reflections that make seamless removal difficult.
Keep the Camera Level and Straight
A tilted horizon is the fastest way to undermine a staged image. When the camera is level, vertical lines — walls, doorframes, windows — stay perfectly straight, and the AI can accurately judge the room's geometry. A tilted photo produces furniture that looks like it's sliding off the floor.
Use your camera's built-in level or your tripod's bubble level. If you shoot handheld, enable the horizon indicator in your camera or phone's viewfinder. Straightening in post-processing crops the frame and reduces resolution, so get it right in-camera.
Expose for the Windows, Not the Room
Blown-out windows — those white rectangles where the view should be — are one of the most common problems in listing photography. When windows are overexposed, the AI loses critical depth cues and sometimes generates furniture that floats or looks dimensionally wrong.
Use HDR bracketing if your camera supports it, merging a bright exposure for the room interior with a darker exposure that preserves the window view. If you're shooting on a phone, tap the window in your frame to meter for it, then use exposure compensation to brighten the room slightly. A well-exposed photo with visible window detail will produce dramatically better staging results than a brighter photo with blown highlights.
Check Your File Before You Upload
Before uploading to Stagerify, run through this quick checklist:
- Resolution: At least 1500px on the shortest side. Higher resolution gives the AI more detail to work with.
- Format: JPEG or PNG — avoid screenshots or photos that have been compressed multiple times.
- No filters: Skip Instagram-style filters. They alter color balance and make it harder to match realistic furniture tones.
- No watermarks: MLS watermarks or logo overlays in the frame confuse the AI and degrade the output.
- Straight verticals: Do a final check that walls aren't leaning before you upload.
The best AI staging in the world can't fully recover a dark, distorted, or cluttered source photo. But when you give it a clean, well-lit, properly framed image, the results are consistently photorealistic — the kind that make buyers stop scrolling and click "Book a Showing."